What this feature does |
|---|
Auto Window Level (Auto W/L) automatically adjusts window and level based on the pixel values in the image. |
The problem it solves |
|---|
Auto W/L gives you a quick starting point and allows you to control the ability to change that affects just one image, a subset, or the entire series. |
How to use it |
|---|
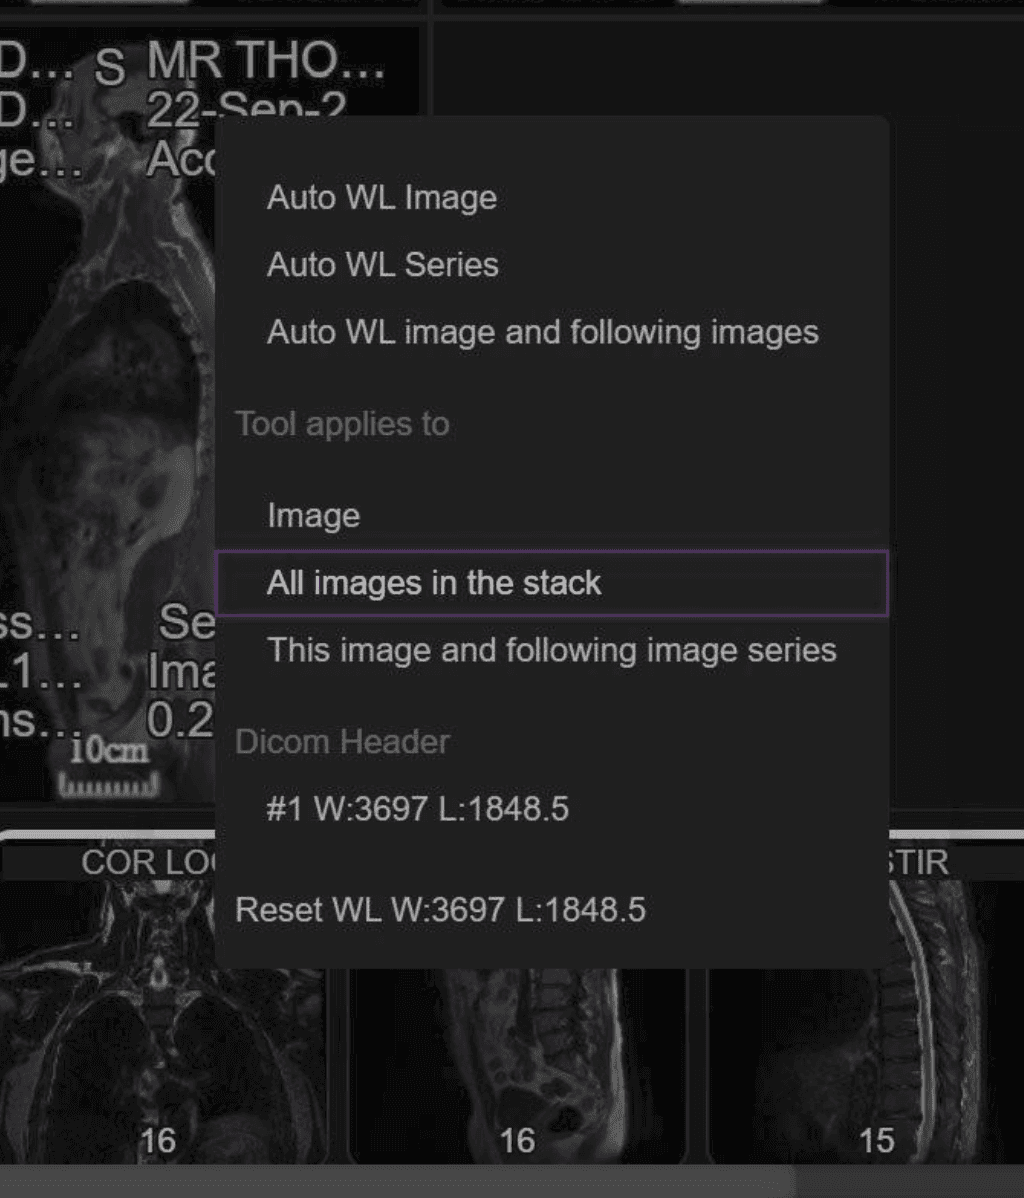
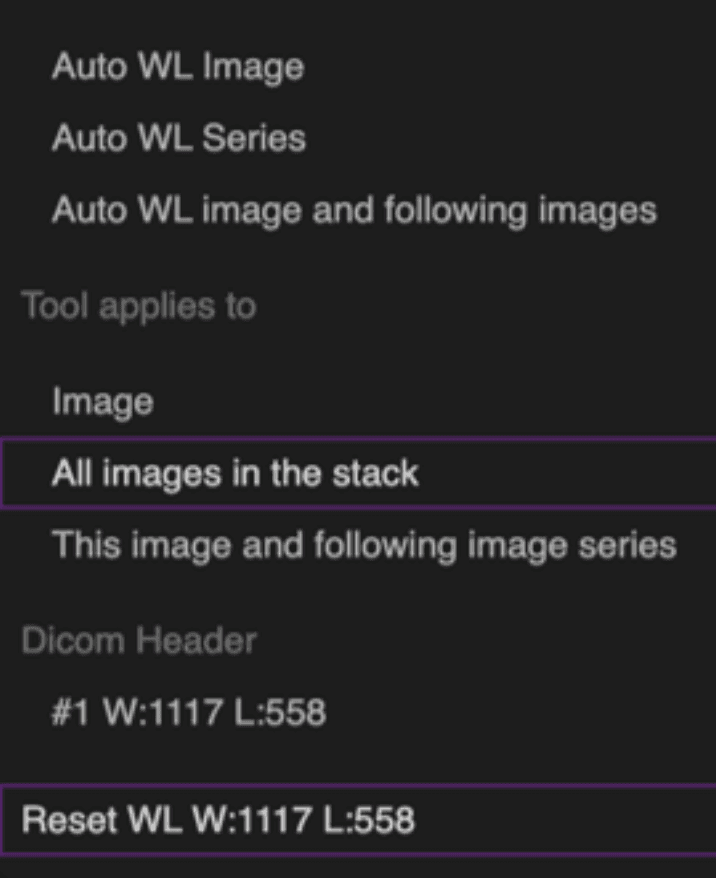
MR exams
Note: You can also use manual W/L (click‑and‑drag the W/L tool) applying to the image, this image and following, or the series. |
 |
 |
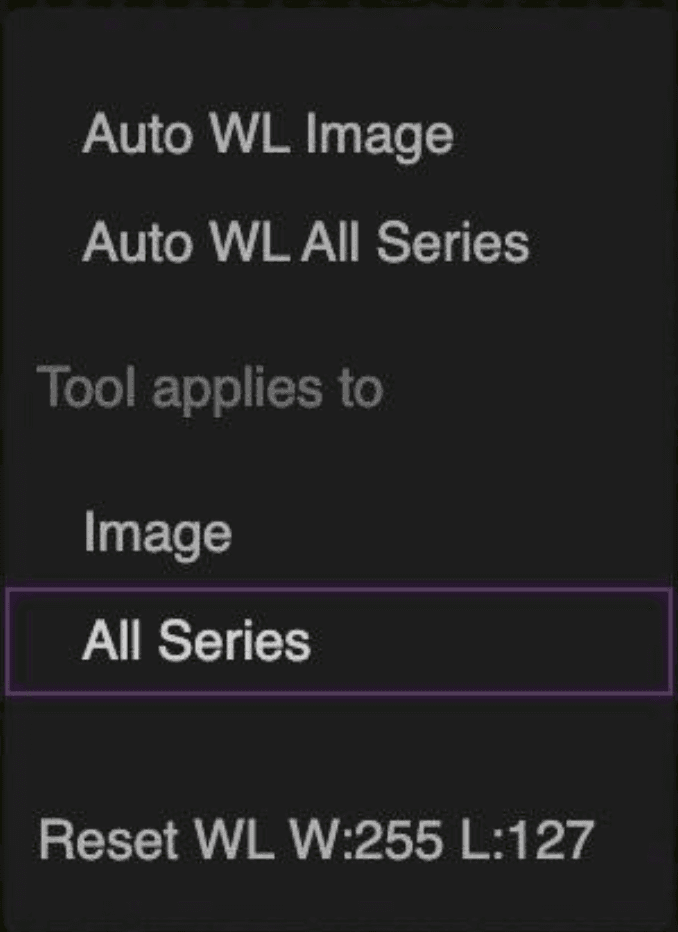
XR exams
Note: You can also use manual W/L (click‑and‑drag the W/L tool) applying to the image or all series. |
 |
Last‑used behavior |
|---|
|