Mammography Tools |
|---|
Quad View for mammography studies |
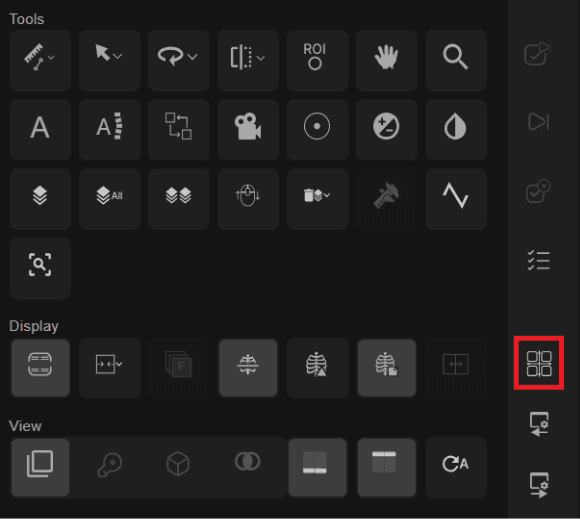
A new Quad View tool is available for mammography studies. When activated, the current image is divided into four overlapping quadrants based on breast orientation, allowing radiologists to closely examine each region at higher zoom without manually repositioning. The tool is accessible from the toolbox, toolbar, or by pressing “Q” on the keyboard. Pressing the Quad View button enters (or exits) Quad View mode. Once in Quad View mode, you can scroll through each quadrant. |
 |
 |
Auto-crop for mammography images |
The viewer can now automatically crop mammography images to remove black background and fit the detected breast bounding box within the viewport. The feature supports MLO, CC, XCC, LM, and exaggerated CC views, as well as implant images, and applies to both current and prior mammograms. Vertical cropping trims the anterior black border with slight padding to avoid cutting breast tissue; horizontal cropping removes the lower abdominal area without cutting the chest wall. Breast bounding box detection targets approximately 95% accuracy or higher. Auto-crop serves as the foundation for Quad View, which divides the cropped image into quadrants. Press “S” when viewing mammography to crop the image. Press “S” again to return to the original presentation. |
Magnifying glass tool |
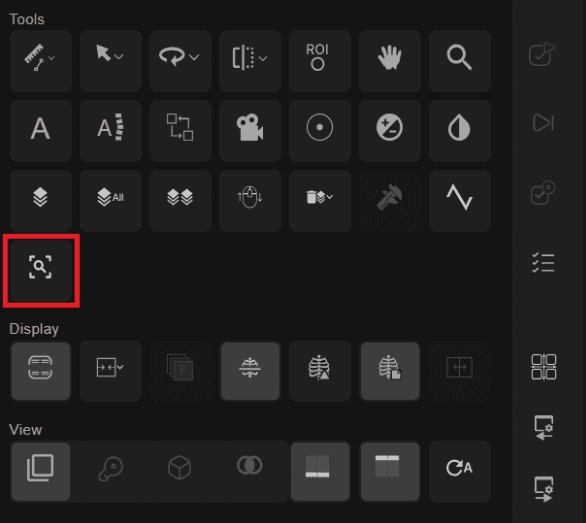
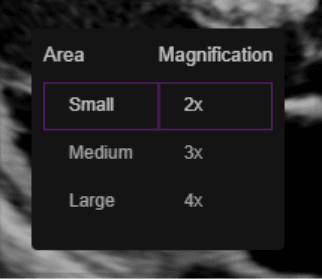
A magnifying glass tool has been added to the toolbox and toolbar. The tool magnifies a configurable square region (small, medium, or large) at a configurable magnification level. For MG studies, the magnifier is mirrored across two images when positioned near the border. For all other modalities, the magnifier appears on two images at the border without mirroring. The magnifying glass remains active when moving between viewports. The power wheel is not active while the magnifying glass is in use. Keyboard shortcut: Shift + Z. Right-click with the magnifying glass to configure the size of the tool as well as the zoom factor. |
 |
 |
 |
Fusion Enhancements |
|---|
Automatic fusion series creation |
When a PET/CT study is opened, the viewer now automatically creates a virtual fused series. The viewer identifies CT and PET series that share the same orientation and Frame of Reference and combines them into a fused series that loads both components together when placed in a viewport. |
ROI-based SUV quantification in fusion mode |
Fusion mode now supports ROI-based SUV (Standardized Uptake Value) quantification. When an ROI is drawn on a fused series, the maximum, minimum, and average SUV metrics for that slice are calculated and displayed. As the user scrolls, the ROI remains visible on the three slices before and after the original slice, with SUV metrics recalculated for each. Key images can be saved to preserve the SUV metrics as part of the study record. |
Oblique creation in fusion mode |
Users can now create oblique views while in fusion mode, bringing the same oblique functionality available for standard PET studies into the fused PET/CT viewport. |
Reset in fusion mode |
A reset option is now available in fusion mode, allowing users to revert all changes and return the fused series to its original state. |
Presentation States (GSPS) |
|---|
Saving and displaying DICOM presentation states |
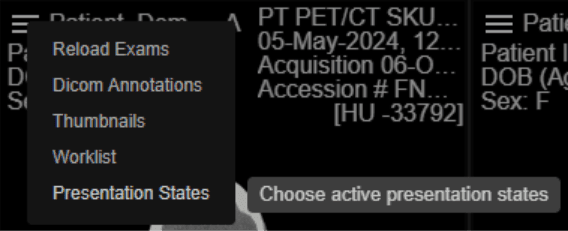
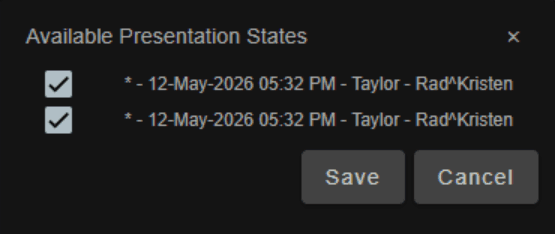
The viewer now supports saving and displaying DICOM Grayscale Softcopy Presentation State (GSPS) objects. Image edits and annotations made during an exam session — including zoom, pan, window/level adjustments, VOI LUT settings, and annotations — can now be persisted as GSPS objects and reloaded in subsequent sessions. Save behavior is role-based: technologists and reading physicians are auto-saved on exam exit if the appropriate option in their hanging protocols is enabled; clinical users with manual save rights can use the Save Presentation State option; patient and administrative users have no save capability. Saved presentation states from different users are surfaced over time when viewing an exam. |
 |
 |
CAD Enhancements |
|---|
3D CAD annotation markers on the tomosynthesis slice navigation bar |
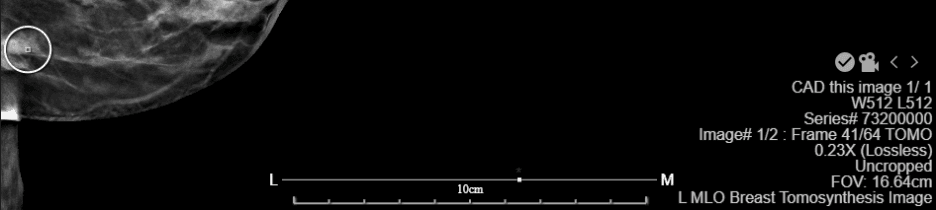
For mammography exams with 3D tomosynthesis, CAD annotation markers are now displayed on the slice navigation bar — the Superior–Inferior / Medial–Lateral indicator bar used to scroll through tomo slices — so radiologists can quickly identify flagged slices without scrolling through the entire stack. Each slice containing one or more CAD annotations is marked with a tick; if a finding spans multiple slices, ticks appear across the entire range. Calcification marks are shown in yellow and density marks in green. Clicking a tick navigates directly to that slice and pauses cine playback if it is running. The DICOM overlay also updates during tomo playback to show the count of CAD annotations on the current slice. CAD findings are hidden on initial load and can be displayed via toggle in the toolbox or by pressing the C key. |
 |
Viewport and Layout Enhancements |
|---|
New 3-viewport panel layout option |
A new layout option for 3 viewports is now available, mapped to the 3 key. On landscape (wider than tall) windows the layout displays as 1 row of 3 viewports; on portrait windows it displays as 1 column of 3 viewports. Additionally, for all asymmetric layouts (1x3, 2x3, 2x4, 3x4), pressing the layout key while that layout is already active toggles the orientation between landscape and portrait arrangements. |